So wählen Sie die Mediengröße für kleine Bohrungen, Schlitze und innere Hohlräume aus
Kurze Antwort: Wählen Sie das kleinste Medium, das das erforderliche Merkmal erreicht und dennoch zuverlässig getrennt werden kann. Ein kleinerer Chip kann den Zugang verbessern, kann sich aber auch in einer Bohrung festsetzen, durch einen Schlitz hindurchtreten, die Trennung verlangsamen oder die Kontaktintensität verändern. Die richtige Größe ist daher eine Entscheidung bezüglich Geometrie, Defekt, Maschine und Prüfung – keine einfache Regel „kleiner ist besser“.
1. Erfassen Sie das Merkmal vor der Medienauswahl
Erfassen Sie die kleinste Öffnung, Schlitzbreite, Hohlraumtiefe und Durchgangslänge. Markieren Sie außerdem Gewinde, Dichtflächen, kosmetische Oberflächen und Kanten, die nicht zu stark abgerundet werden dürfen. Das kritische Maß ist häufig nicht der Nenndurchmesser der Bohrung: Ein schräger Eintritt, Grat, Querbohrung oder blinder Hohlraum kann den nutzbaren Durchgang verringern.
- Durchgangsbohrungen: Prüfen Sie Eintritts- und Austrittsgrate, Querschnitte und die Möglichkeit, dass ein Chip hindurchtritt und sich an anderer Stelle festsetzt.
- Schlitze: Vergleichen Sie die kürzeste Schlitzabmessung mit dem kleinsten Querschnitt und der Ausrichtung des Mediums.
- Blinde Hohlräume: Prüfen Sie, ob das Medium eintreten, zirkulieren und wieder austreten kann, ohne sich am Boden anzusammeln.
- Innere Kanäle: Stellen Sie sicher, dass das Prozessziel erreichbar ist; der Oberflächenkontakt innerhalb eines Kanals kann ungleichmäßig sein.
2. Verwenden Sie eine Passform- und Funktionsprüfung, nicht nur eine Größenangabe
| Frage | Warum es wichtig ist | Prüfung |
|---|---|---|
| Kann das Medium eintreten? | Eine große oder schlecht ausgerichtete Form erreicht den Grat möglicherweise nie. | Markieren Sie Eintritt und Austritt; prüfen Sie nach einem kurzen Zyklus. |
| Kann das Medium austreten? | Eingeschlossene Chips verursachen Nacharbeit, Verunreinigungen und Kundenrisiken. | Zählen Sie zurückgehaltene Teile nach der Trennung und dem Waschen. |
| Kann es die Kante schützen? | Ein zu kleiner oder zu scharfer Kontakt kann die Kantenabrundung erhöhen. | Messen Sie Kantenradius und kritische Abmessungen. |
Die Medienform verändert den effektiven Querschnitt. Zylinder, Dreiecke, winkelig geschnittene Formen und Kunststoffformen gelangen nicht auf die gleiche Weise in dasselbe Merkmal. Wählen Sie Form und Größe gemeinsam aus und prüfen Sie anschließend die Zirkulation und Trennmethode der Maschine.
3. Finden Sie das Gleichgewicht zwischen Zugang, Festsetzen und Trennung
Eine Verringerung der Mediengröße kann den Zugang verbessern, kann aber die Trennung verlangsamen, insbesondere wenn das Werkstück viele kleine Öffnungen aufweist oder wenn sich das Medium der Merkmalgröße nähert. Prüfen Sie die Sieb-, Magnet-, Durchfluss- oder Vibrations-Trennmethode der Maschine, bevor Sie eine feine Medienqualität freigeben. Der Leitfaden zu Keramik- versus Kunststoffmedienerklärt, warum Medienfamilie und Form zusammen mit der Geometrie berücksichtigt werden müssen.
Verlassen Sie sich nicht nur auf visuelles Ausschütteln. Verwenden Sie eine definierte Rückhalteprüfung, beispielsweise eine gezählte Stichprobe, einen Spülschritt oder eine kontrollierte Prüfung von Hohlräumen. Die Abnahmemethode sollte zum Risiko des Teils und zu den Kundenanforderungen passen.
4. Stimmen Sie die Größe auf den eingehenden Defekt und die Zieloberfläche ab
Ein kleiner Medienchip kann einen Hohlraum erreichen, aber nicht die Masse oder Schneidwirkung besitzen, die zum Entfernen eines starken Grats erforderlich ist. Umgekehrt kann ein großes aggressives Medium Material schnell an einer freiliegenden Kante entfernen und dabei das innere Merkmal verfehlen. Trennen Sie die Ziele: Entfernung innerer Grate, Glätten der Oberfläche, Kantenverrundung und Endpolieren können unterschiedliche Stufen oder Maschinenkonzepte erfordern.
Bei empfindlichen oder hochwertigen Teilen vergleichen Sie die lose Massenbearbeitung mit einem Verfahren, das das Werkstück hält, wie z. B. Schlepp- oder Strömungsfinish. Die Maschinenauswahl sollte der Geometrie und dem Beschädigungsrisiko folgen, nicht allein der Medienbezeichnung.
5. Ein wiederholbarer Versuch zur Mediengrößenbestimmung
- Messen und dokumentieren Sie die kleinste Öffnung, Tiefe und Durchgangslänge.
- Wählen Sie zwei Kandidatenformen und zwei Größen aus, die mit der verfügbaren Ausrüstung getrennt werden können.
- Führen Sie einen kurzen Zugangsversuch durch und prüfen Sie anschließend jeden kritischen Hohlraum auf zurückgebliebenes Medium.
- Messen Sie die Gratentfernung, den Kantenradius, die Rauheit oder die optische Oberfläche gemäß Vorgabe.
- Führen Sie den besten Kandidaten erneut mit einer frischen Probe aus, um die Wiederholbarkeit zu bestätigen.
- Dokumentieren Sie das Medium, die Maschine, die Belastung, die Mischung/das Wasser, die Zykluszeit und die Trennmethode.
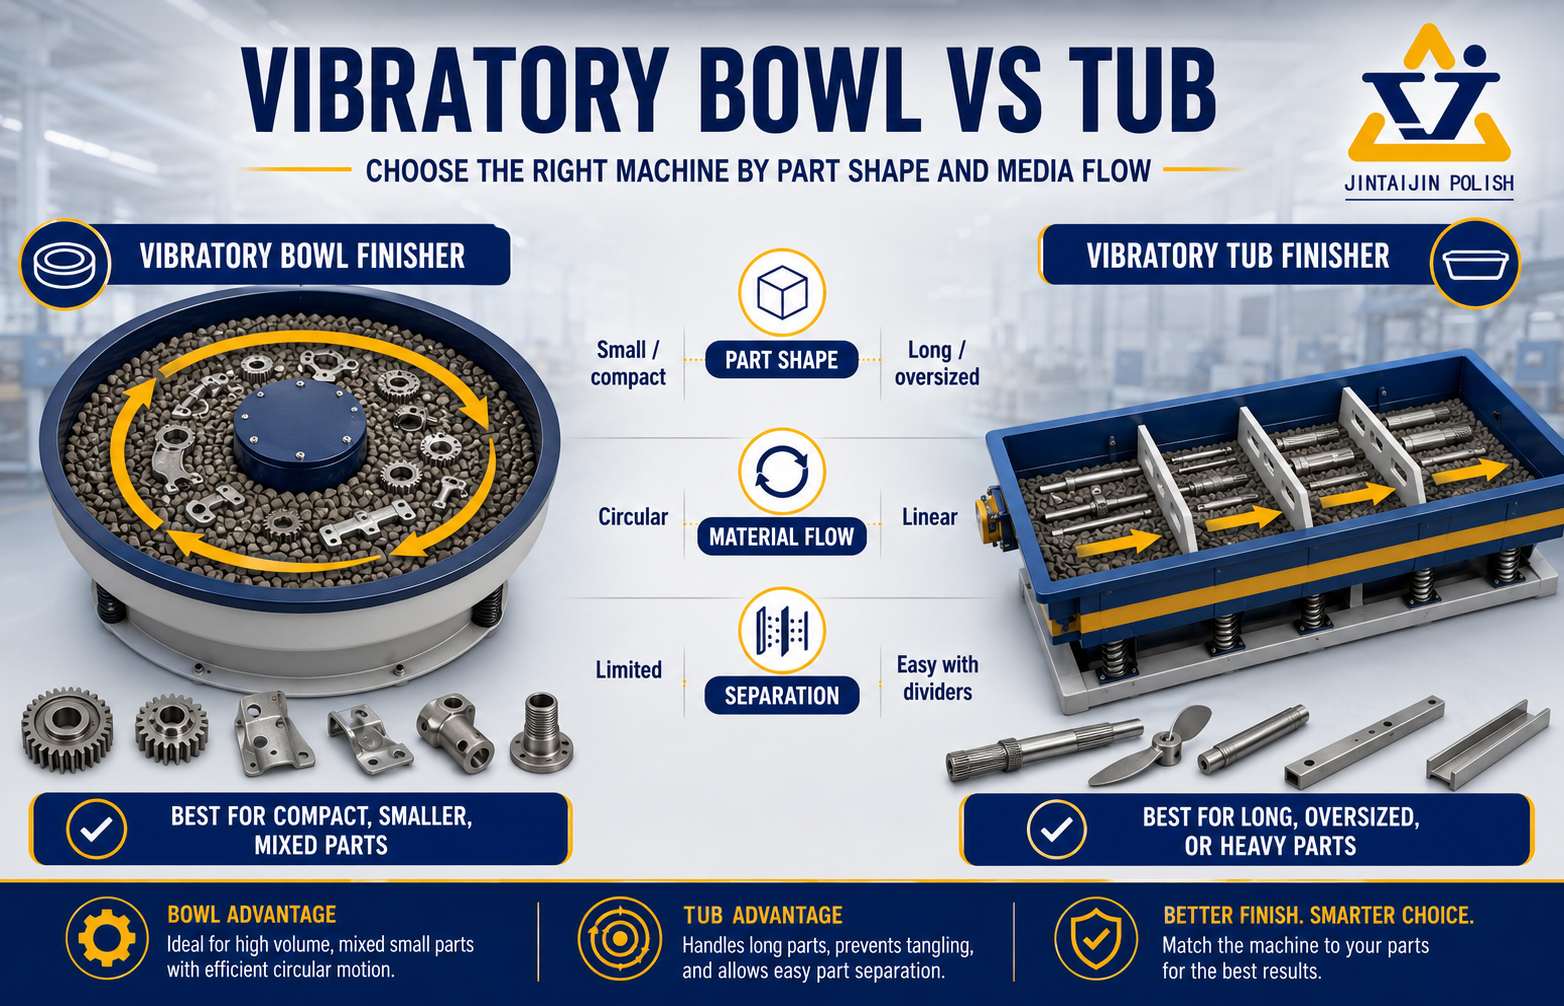
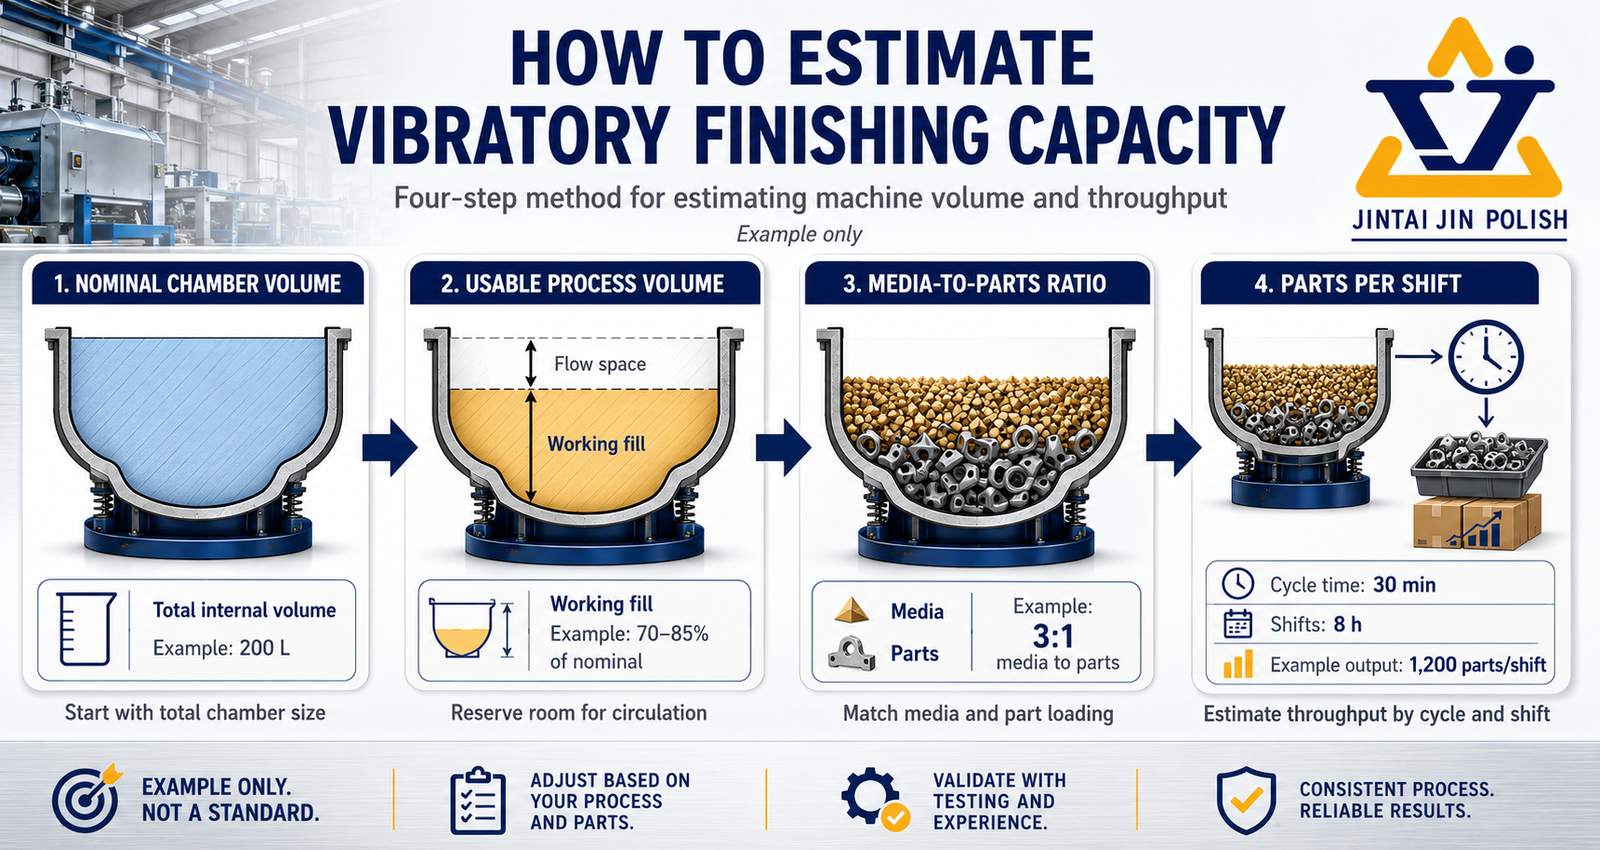
Verwenden Sie die Dokumentation des Gleitschleif-Probeversuchs zur Dokumentation der Größenentscheidung und der Freigabekriterien. Für umfassendere Auswahlmöglichkeiten der Maschinenkapazität siehe den Auswahlleitfaden für Schüssel- und Trogmaschinen.
Käufer-Checkliste
- Kleinste Öffnung, Schlitzbreite, Hohlraumtiefe und Durchgangslänge
- Eingangsgrat-Höhe und Zielkantenradius
- Material, Härte, kritische Abmessungen und Sichtflächen
- Geeignete Medienform, -größe und Trennmethode
- Maschinentyp, Belastungsverhältnis, Compound/Wasser und Zykluszeit
- Methode zur Abnahme der Rückhalteprüfung und dokumentierte Freigabekriterien
Benötigen Sie Hilfe bei der Auswahl von Medien für interne Merkmale?
Senden Sie die Teilezeichnung oder Fotos, den kleinsten Durchgang, den Eingangsgrat und die Zieloberfläche. Wir können helfen, einen Zugangs-, Trenn- und Prüfversuch zu definieren, bevor Ausrüstung oder Medien festgelegt werden.
Dieser Leitfaden ist ein Rahmen zur Prozessauswahl. Die endgültige Mediengröße, -form und Zykluszeit müssen an repräsentativen Teilen bestätigt werden.
 +86-592-2381506


 IPv6-Netzwerk unterstützt